

I am not going to try and play romantic here: life is better with a bed to yourself. Yes, if Jordan decided to buy another bed and sleep in a separate room than me I would be pretty dang upset, but I will not for a second pretend like I don't get a little giddy when I know that Jordan is going out of town and I'm getting the bed to myself. Being able to sprawl across an entire bed is one of life's greatest luxuries. I think Jordan would agree too.
My incredibly dramatic stance on bed politics comes from the fact that our first 8 months in our house were spent sharing a double bed. We recently upgraded to a queen and team moral has greatly improved.
My incredibly dramatic stance on bed politics comes from the fact that our first 8 months in our house were spent sharing a double bed. We recently upgraded to a queen and team moral has greatly improved.
The only problem with our upgrade was that I had to lose my beloved rod-iron bed frame and we were left with a pretty underwhelming scenario:

Instead of spending the money on another bed frame we decided to strap on our work boots and make our very own headboard.
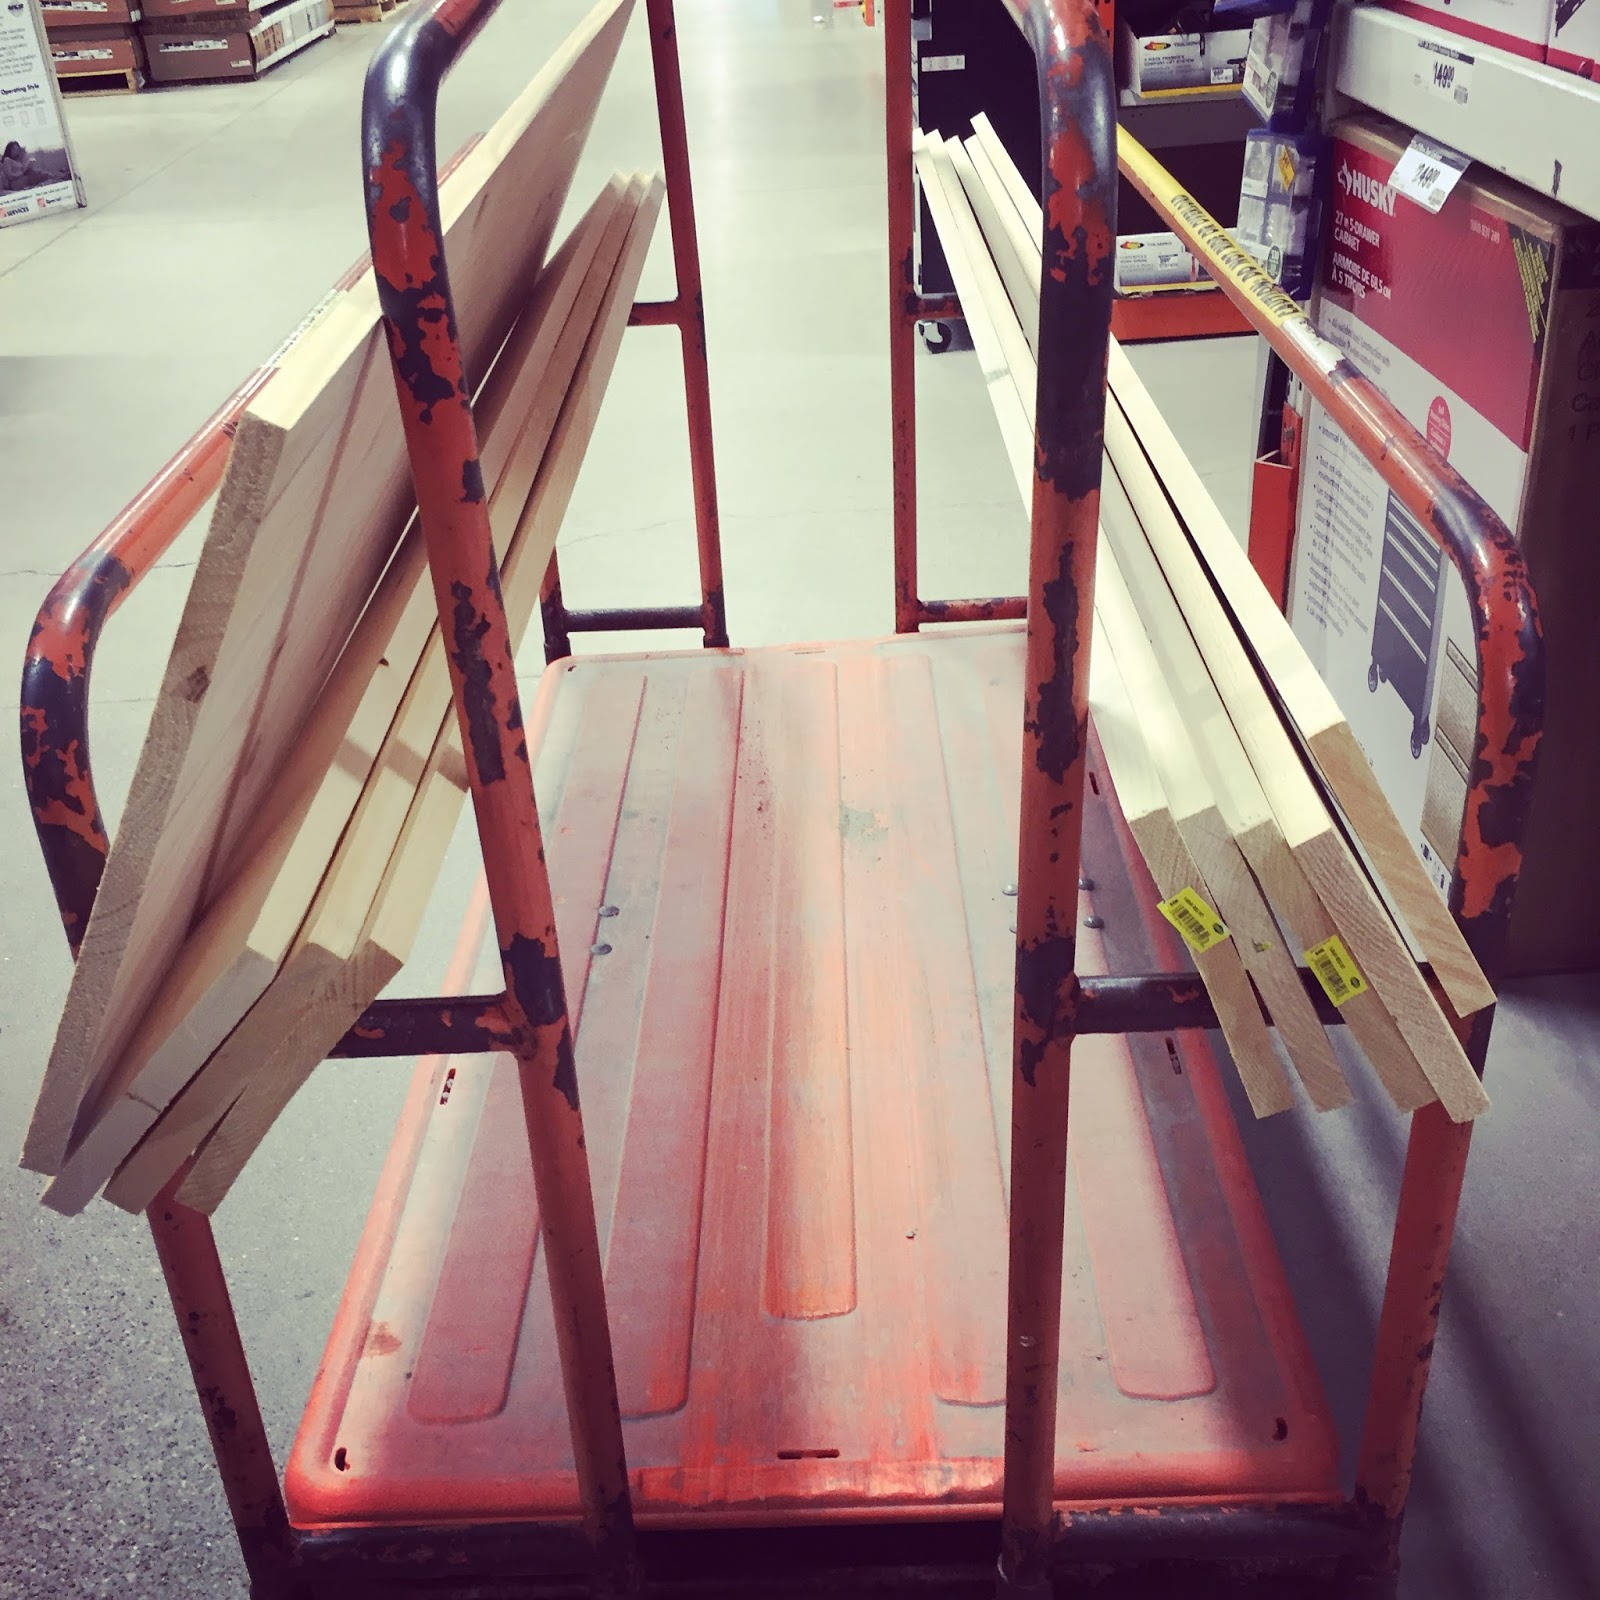
We started with 8 pieces of furniture grade lumber (plus one extra for a special DIY I'll be sharing with you soon).
1. I cannot tell you what size the lumber was. I just looked at the different sizes of wood and chose what I thought best matched the picture in my head
2. Do not bother with furniture grade lumber... you'll soon see why
We then destroyed the wood (see why you don't need to start with nice wood?!)

We hit the wood with hammers, banged screws on it, scratched it with the back of a hammer, took a drill bit to the edges...we did it all.
After we had thoroughly destroyed the wood to our liking, we got to staining! We chose a dark stain and left it on for 15 minutes before wiping it off.


After the staining was done I drew up my idea for how I'd like the wood to be laid out.We chose to cut each piece randomly so it would look more rustic.(Full disclosure: this probably would have best been done before staining since we had to cut the wood, destroy the edges, and then stain the edges .)

This shot provides the best example of our headboard once it was done:

Once everything was dry we simply nailed the boards to the wall and voila! We had our rustic headboard!


This is a pretty simple DIY if you have the tools. Luckily Jordan has every tool in the book so we were all set that way, otherwise you better go to the hardware store with some seriously well thought out plans and you can get them to cut the wood for you. Time-wise we did this over a weekend, as the stain needed time to dry. So if you have some free time and the will to do it, I highly recommend this DIY.
Now our bed is not only a place where two people can comfortably sleep, but it's a place we actually want to sleep. Three yawns all around!
From the desk of:
Taylor Brown
Taylor Brown


